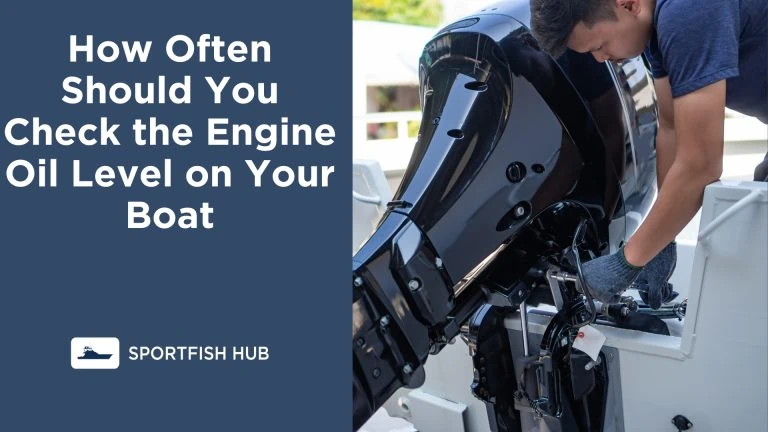
Checking the engine oil level on your boat is an important part of regular maintenance. Keeping oil at the proper level ensures your engine runs smoothly and prevents serious damage.
But how often should you actually check the engine oil? Here’s a guide on understanding engine oil, when to check it, and steps for checking oil on a boat.
See also: Water in Boat Engine Oil What To Do?
Recommended Frequency for Checking Oil
Many experts recommend checking engine oil:
- Before each use
- Monthly during normal use
- Every 2 weeks with frequent use
- Per manufacturer’s recommendations
Checking oil before each use ensures adequate oil for startup. Monthly checks catch any changes. More frequent checks are wise for boats that are used often.
Ultimately, the manufacturer’s recommendations for your engine will provide the best guidance on check frequency. Consult your owner’s manual.
Why Engine Oil Matters
Engine oil has two main jobs – lubrication and cooling:
- Lubrication – Oil coats moving engine parts to prevent metal-on-metal contact which causes friction, heat, and wear. It keeps parts running smoothly.
- Cooling – Oil circulates and carries heat away from critical components. This prevents overheating.
When oil is low or dirty, it can’t properly lubricate and cool the engine. This leads to increased wear, corrosion, sludge buildup, and eventual failure.
| Topic | Details |
|---|---|
| Why Check Oil | Lubrication and Cooling |
| Frequency | Before use, Monthly, Every 2 weeks (frequent use), Per manufacturer |
| Checking Procedure | Cool engine, Level boat, Locate dipstick, Wipe/reinsert, Read oil level, Add if needed |
| Tips | Use proper oil, Watch for changes, Keep records, Change regularly, Proper disposal |
Steps for Checking Engine Oil Level on a Boat
Checking oil level is simple if you follow proper procedure:
1. Allow Engine to Cool
- Oil level readings are only accurate on a cool engine. Hot oil expands and gives a faulty reading.
- Cool down period depends on engine size but allow at least 5-10 minutes after use.
2. Keep Boat Level
- Oil readings are based on a level surface. Keep boat as level as possible when checking.
3. Locate Dipstick
- Outboard motors: Dipstick is usually found near the bottom rear of the engine.
- Inboards: Dipstick is accessed by lifting engine cover.
4. Wipe and Reinsert Dipstick
- Remove dipstick and wipe oil off with a clean cloth.
- Reinsert fully to get accurate reading.
5. Check Oil Level
- Remove dipstick and examine oil mark:
- Oil should be between “Full” and “Add” range markings
- If oil is at or below “Add” mark, add oil until it reaches “Full”
- Avoid overfilling above “Full” mark.
Helpful Tips
- Use the right oil – Consult owner’s manual and use oil recommended for your engine. Using the wrong oil can damage your engine.
- Watch for changes – Oil should be fairly clear. Cloudy, dark, or dirty oil signals a need for oil change.
- Keep records – Note oil change dates and engine hours to stay on schedule.
- Change oil regularly – Old oil loses its ability to protect. Follow manufacturer guidelines on frequency.
- Dispose properly – Used oil is hazardous waste. Many marinas offer recycling. Don’t dump it illegally.
Conclusion
Checking and maintaining proper engine oil level is easy and essential for your boat. By following the recommended frequency, steps, and best practices, you can help your boat’s engine run smoothly for years. Consult your owner’s manual for model-specific guidance. With routine oil checks and changes, your boat will be ready to head out on the water.