If you have found this article, you are probably wondering:
- Do you need to de-winterize Boats?
- Can you just put a winterized boat in the water?
- How do I de-winterize my boat?
In this post, we are going to discuss some of the common questions surrounding de-winterizing boats and provide you a step by step guide to getting your boat ready for the Spring and Boating Season.
- Do You De-Winterize Boats?
- How Much Does it Cost To Dewinterize a Boat?
- The First Step To the De-Winterization process- Inspection
- The Second Step To De-Winterize Your Boat- Check The Battery
- The Third Step To De-Winterize Your Boat- Check The Engine
- The Fourth Step in De-Winterizing Your Boat- Check The Fuel System
- Step 5 In De-Winterizing Your Boat- Check The Bilge Pump
- Step 6 For De-Winterizing a Boat- Check Water Pumps and Thermostats
- Step 7 To De-Winterize A Boat- Refill the Cooling System
- Step 8 To De-Winterize A Boat- Trailer Check
- Step 9 to De-Winterize A Boat- Check Safety Equipment
- Conclusion
- FAQ’s
Do You De-Winterize Boats?
Yes, if you winterize your boat, you must de-winterize your boat!
Not de-winterizing your boat could potentially lead to costly repairs of the engine, electrical systems and other components.
How Much Does it Cost To Dewinterize a Boat?
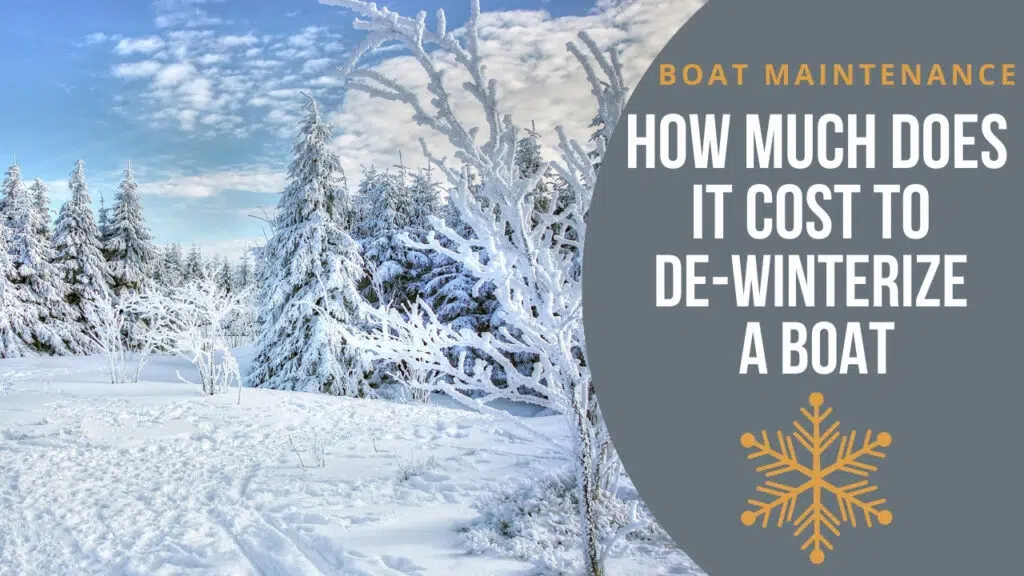
Generally speaking, de-winterizing a boat costs anywhere from a few hundred dollars (for smaller boats) up to several thousand dollars (for larger boats and yachts).
The Cost of de-winterizing a boat- Explained:
When it comes to de-winterizing a boat, the cost will depend on three things, all of which are pretty obvious:
- The size of the boat
- The type of boat
- The Extent of the work required
Supplies that could add cost: Parts and supplies such as oil, filters, and batteries may be necessary for maintenance, the price of which will vary.
Using a Mechanic: If you don’t feel comfortable doing it yourself (which is perfectly understandable), you might have to hire a professional mechanic.
The cost of a mechanic to de-winterize your boat won’t be the most expensive repair cost you’ve ever incurred, and that’s because it’s a fairly routine process.
The First Step To the De-Winterization process- Inspection
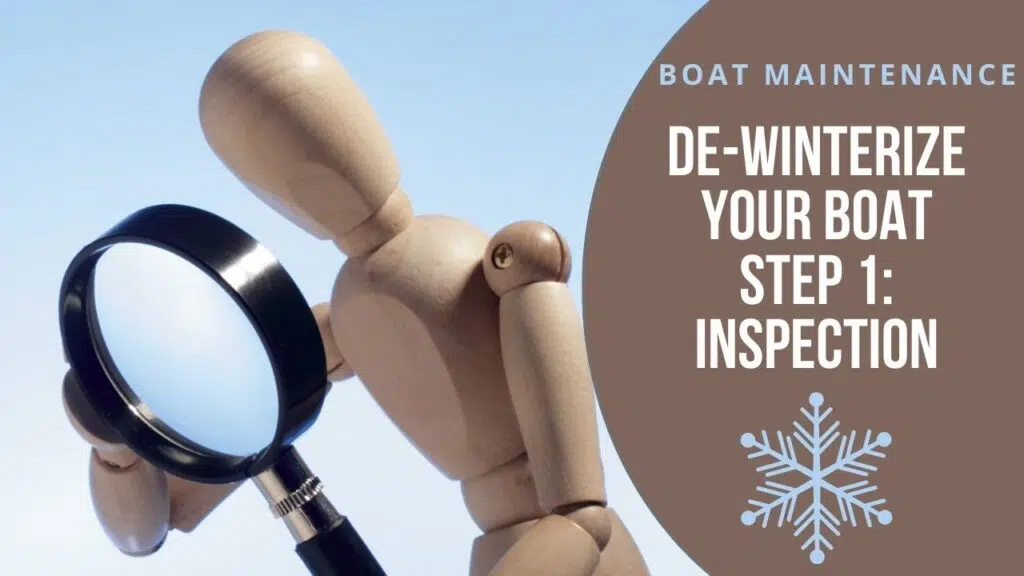
The first step in de-winterizing a boat is a thorough visual inspection.
Removing debris or covers used during winter storage:
If you used boat cover or debris during winter storage, now is the time to remove them. and store them in a dry, protected place, so they are ready for the next winter.
Inspection for damage or leaks:
Before you start any work, it’s important to inspect the boat for damage or leaks that may have occurred during winter storage.
Check the boat’s hull, deck, and interior for any signs of damage or leaks, and address any issues you find before moving on to the next step.
Cleaning the boat thoroughly:
After the inspection, give the boat a good cleaning to remove any dirt, grime, or cobwebs that may have accumulated during winter storage.
Clean everything from the exterior to the interior!
Tip: Cleaning the boat isn’t just about starting fresh; it will allow you to see more of the boat and find additional problems that could be hiding.
The Second Step To De-Winterize Your Boat- Check The Battery
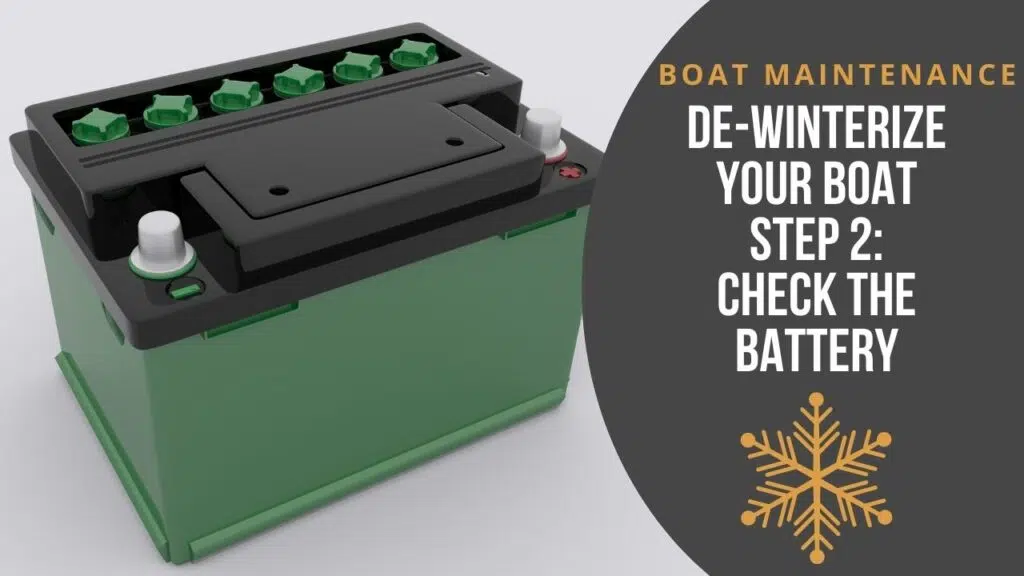
The second step of de-winterizing a boat is to check the Battery because if your batteries aren’t working, nothing else will work.
- Check the battery terminals: Make sure the battery connections and battery terminals are tight and corrosion free. If they’re corroded, you can get the corrosion off with a wire brush.
- Check the battery level: Use a battery tester or multimeter to check that your battery has the appropriate charge. If the battery is low, you can charge it with a battery charger or use a jump box to start the engines/generator (Only after completing steps 3 and 4) and let the alternators charge the battery.
- Test the battery After Steps 3 and 4: Just because your battery was able to take a charge or a jump start and run the boat doesn’t mean it can hold a charge. With the engine on the engine off, turn on all of your electronics and see if the batteries are able to keep up. If it dies quickly, don’t try to charge it again; replace it immediately.
Tip: You can clean corrosion off of a battery terminal with Coca-Cola. Yes, it works! Just make sure the terminals are disconnected from the battery first.
The Third Step To De-Winterize Your Boat- Check The Engine
To de-winterize a boat engine, follow these steps:
- Check the oil level: If you properly de-winterized your boat, you should have already changed your oil and be at the proper level; however, checking your oil levels periodically and after prolonged periods of not using a boat is an absolute must
- Replace the oil and filter: If you changed your oil before winter, you should be good to go, but if you did not, we recommend you change your oil and oil filter now to be properly prepared for the Spring.
- Check for leaks: look around your engine for any signs of leaks, such as oil or coolant leaks or any other liquid your engine requires to function properly. If you find any leaks, address them promptly and before you start the engine.
- Check for worn belts and hoses: Check the belts, fuel and coolant hoses for any signs of wear, damage, or dry rot. If you notice anything that doesn’t look good, simply replace it and don’t risk getting stuck on the water over a fairly inexpensive part.
- Oil additives: We recommend adding an oil additive when you change your oil or if you have a little more room, as indicated on your dipstick. Oil additives provide a little extra protection under extreme conditions and help protect against moisture
- Do not run the engine yet: Do not attempt to start the engine until step four is completed.
The Fourth Step in De-Winterizing Your Boat- Check The Fuel System
When de-winterizing your boat, checking the fuel system is as vital as checking the oil. Here’s what you need to do:
- Check for contamination: Take a look at the fuel tank and make sure no moisture or other contaminants were able to get in during the winter months. If you find a contaminated fuel tank, don’t just assume a new filter will block everything from reaching your engine! The best thing to do to prevent a major overhaul of your engine is to drain the fuel tank and replace it with fresh fuel.
- Replace the fuel filter: This one’s simple, give yourself a new oil filter for the start of boating season.
- Check the fuel lines: Give the fuel lines a quick inspection and make you don’t see any cracks, leaks, or signs of dry rotting.
- Test the fuel system: Assuming you have completed steps 2 and 3 in this article, start the engine and let it run for a bit to test the fuel system and the engine. Check for any signs of leaks, and make sure the engine is running smoothly.
Tip: Use a Fuel Stabilizer whenever you plan on not using your boat for extended periods of time.
Step 5 In De-Winterizing Your Boat- Check The Bilge Pump
A bad Bilge pump can result in your boat being at the bottom of the marina if it fails, so before boating season, let’s give it a good check. Here are the steps to checking a bildge pump:
- Locate the bilge pump: The bilge pump is usually located in the lowest part of the boat and will be towards the back (Near the motor and the drain plug)
- Check the wiring: Make sure the wiring to the bilge pump is not damaged in any way. Check for any signs of corrosion or fraying on the wires.
- Check the switch: there are usually two switches with a bilge pump:
- Manual Switch: A button or switch located on the dash by the help that turns the pump off and on. Never leave this switch on!
- Float Switch: The float switch is a switch on the pump that is triggered when water reaches a certain level (The switch floats and activates the pump).
- Test the pump:
- Manual Switch Test: Without adding water (Because water will trigger a float switch) turn on the bilge pump using the switch on your control panel. Once you hear the pump turn on, turn it off (Running the pump for long periods of time with no water will damage the pump).
- Float Switch: To test the float switch on a bilge pump, add water to the area around the bilge pump and wait for the pump to kick in. If the pump is mostly submerged and does not start, that’s a good sign the gloat switch is not working correctly, and it’s time to be replaced.
Step 6 For De-Winterizing a Boat- Check Water Pumps and Thermostats
Here are the steps for Checking the Water Pumps and Thermostats on a Boat:
- Locate the water pumps: The water pumps for the engine are typically located near the engine and are used to circulate water through the engine and keep it cool. The Fresh Water Pumps or Saltwater Pumps could be located in different parts of the boat, so consult your boat’s manual to find them.
- Check the hoses: Make sure the hoses that connect the water pumps to the engine and the cooling system are in good condition by looking for signs of cracks, leaks, or kinks in the hoses. Remember to also look for dry rotting.
- Check the water pump impellers: Turn off the engine and remove the water pump covers to inspect the water pump impellers. Make sure the impellers are in good condition and not damaged. If the impellers are damaged, you’ll need to replace them. Impellers usually need to be replaced every 200 hours.
- Check the thermostats: The engine’s thermostats are responsible for regulating the temperature of the engine’s coolant. If the thermostats are not moving properly, they will not open the flow of coolant or water, and your engine could overheat. Thermostats also require changing around 200 hours of use, so you should time that with your water pump impeller replacement to make things easier.
Step 7 To De-Winterize A Boat- Refill the Cooling System
If you properly winterized your boat then you would have removed the coolant from the coolant system so that it didn’t freeze. Here are the steps for properly replacing engine coolant after the winter on a boat:
- Check all of the hoses around the coolant lines for your standard cracking, drying, and/or leaks.
- Check the strainer to make sure it’s not clogged.
Step 8 To De-Winterize A Boat- Trailer Check
If your boat has a trailer that was sitting around during the winter months, it’s also a good idea to inspect it and make sure it’s ready for the Spring boating Season. Here are some steps to conduct a trailer check after winter storage:
- Inspect the exterior: Check for any visible signs of damage. You will be looking for cracks or dents in the the frame and corrosion or rust on the metal parts.
- Check the tires: Make sure the tires are properly inflated and not showing any signs of dry rot, cracking, or uneven wear.
- Check the brakes: If your trailer has brakes, make sure the brakes are working properly.
- Check the lights: Check that all the lights on the trailer are working, including the brake lights, turn signals, and taillights.
- Check the suspension: Check the springs, shocks and other suspension components for any signs of damage or wear.
- Check the hitch: Ensure the hitch is secure and not showing any signs of rust or corrosion.
- Test the jack: Make sure the jack is working properly and that it can lift the boat high enough to be hooked up to your truck.
- Check the winch: Check the winch to make sure it is working properly and that the cable is not damaged.
- Check the Bunks, Cradles, and rollers: These are what your boat sits on when it’s on the trailer, so check to make sure they are still mounted properly and firmly and that the bolts holding them on are not corroded.
Step 9 to De-Winterize A Boat- Check Safety Equipment
After sitting around for several months, it’s a great idea to re-check all of your safety gear to make sure everything will work when you need it to. Here is a list of safety gear to check and how to test it when you dewinterize your boat:
- Life Jackets: Check the life jackets for any signs of wear or damage and make sure they are properly sized for the passengers you regularly have on your boat (I.E., Have children’s life jackets if you have children on board).
- Fire Extinguishers: Check the fire extinguishers to make sure it is in good condition, properly charged, and easy to access.
- Flares and Signaling Equipment: Check the expiration date of the flares and make sure they are properly stored and easy to access in an emergency.
- Horn or Whistle: Check the horn to make sure it is working properly.
- Navigational Lights: Check the navigation lights to make sure they are working properly and meet the legal requirements for the type and size of the boat you are operating.
- Throwable Flotation Devices: Check the throwable flotation devices to make sure they are in good condition and easy to access.
- First Aid Kit: Check the contents of the first aid kit to make sure it is complete and has not expired.
Conclusion
In conclusion, it’s of the utmost importance to de-winterize your boat in order to have a safe and successful boating season. From examining the fuel system, inspecting the electrical systems, and testing the bilge pump, these easy steps can drastically enhance your boat’s performance and dependability.